Introduction: Flushing your jet ski or personal watercraft (PWC) is a simple yet crucial maintenance task that every watercraft owner should master. It not only ensures your craft's longevity but also guarantees peak performance on the water. In this guide, we'll walk you through the steps to correctly flush your jet ski. To make the process even more effortless, we recommend using the "Captain's Musket" by Salty Captain, a handy tool that simplifies the flushing procedure.
Step 1: Gather Your Tools
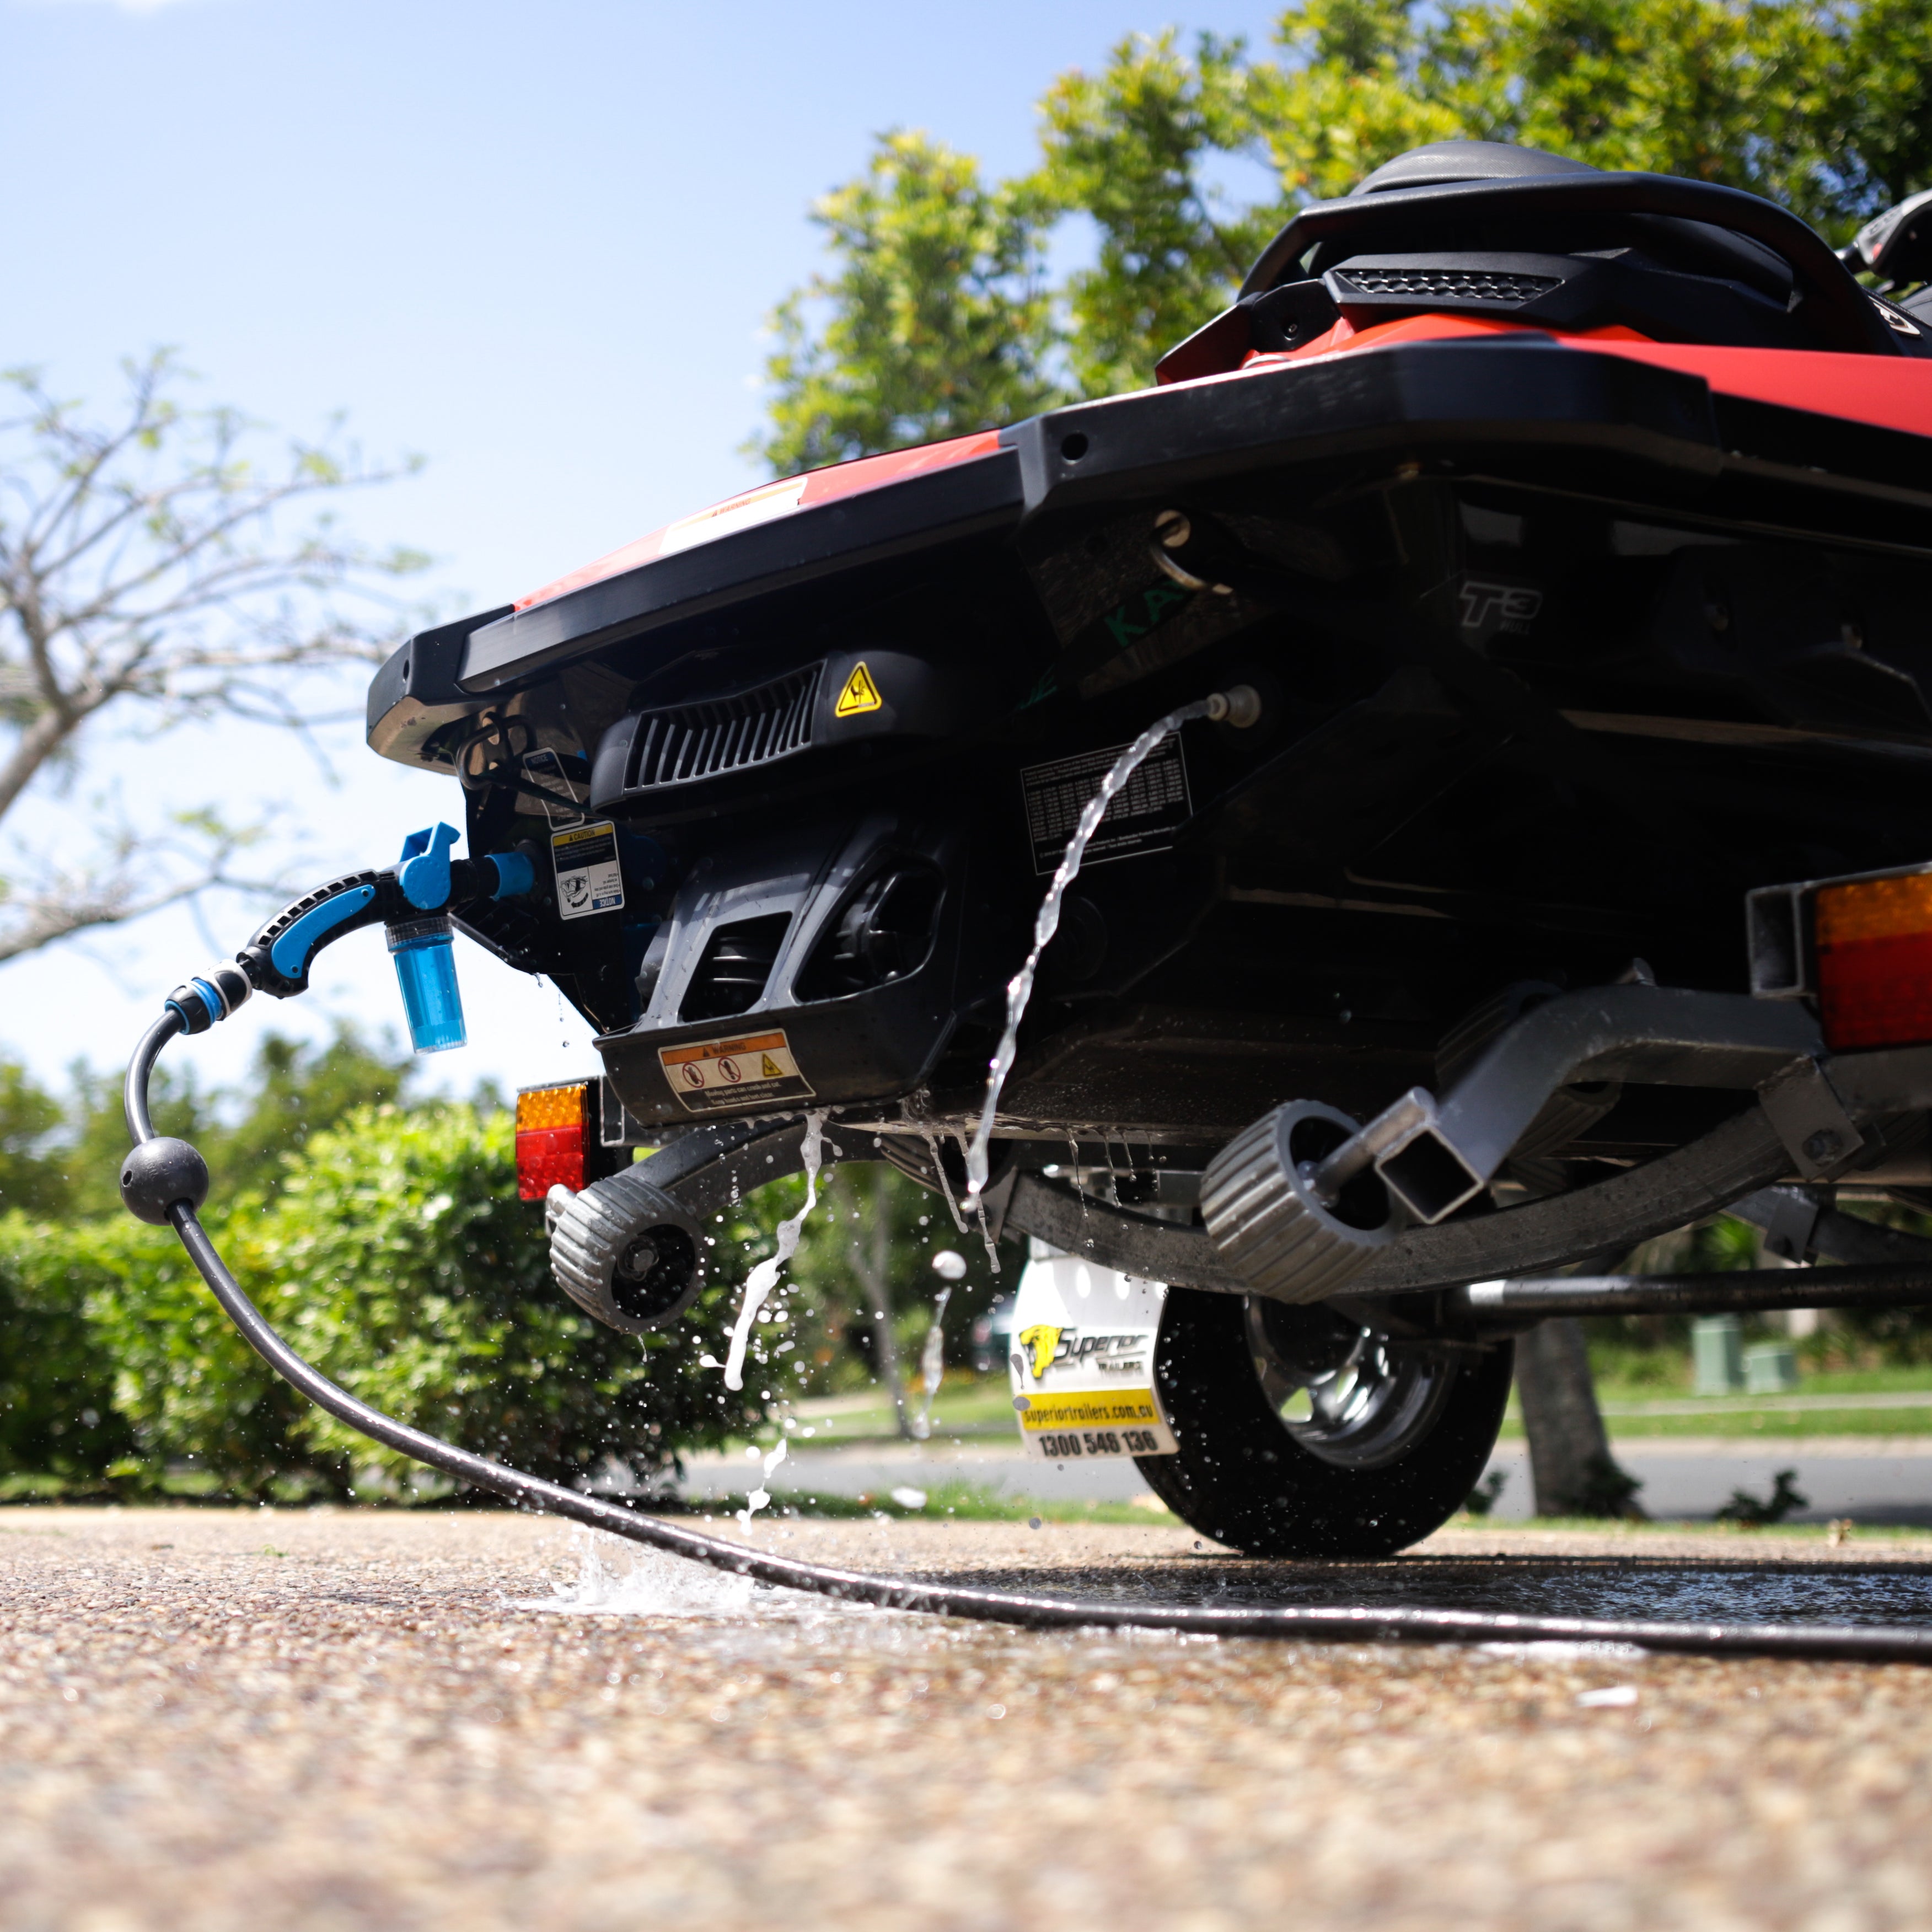
Before you start, it's essential to have everything you need within reach. The key tool for this process is the "Captain's Musket," which eliminates the need to kink hoses and prevents water from going where it shouldn't. Make sure your jet ski is securely positioned on its trailer or in the water.
Step 2: Start the Engine Before Running Water
With your jet ski in place and ready, start the engine before introducing water. This step is vital to avoid potential damage. The "Captain's Musket" makes this task more straightforward with its easy on, off, and flush settings. After starting the ski, simply turn the device to the flush setting.
Step 3: Run the Ski for 60-90 Seconds
Following the manufacturer's guidelines for flush times, allow your jet ski to run for about 60-90 seconds. Flushing the engine with clean water helps remove salt and other contaminants that can cause corrosion and performance issues.
Step 4: Turn Off the Water
Once you've reached the recommended flush time, turn off the water source. This prevents any excess water from entering the engine and exhaust system.
Step 5: Run the Ski for a Few More Seconds
Before shutting off the engine, let the jet ski run for a few more seconds without water. This step ensures that any remaining water is expelled from the system, reducing the risk of internal corrosion.
Step 6: Allow the Ski to Cool Down
After completing the flushing process, let your jet ski cool down for a few minutes. This step is essential for the well-being of your engine and other components.
Step 7: Rinse Off the Motor
Using a light mist of water, rinse off the motor and other exposed parts of your jet ski. This helps remove any residual salt or contaminants that may have splashed onto the engine during your ride.
Step 8: Apply an Anti-Corrosion Spray
To further protect your jet ski, consider using an anti-corrosion spray designed to repel water. This will help keep moisture out of wiring looms and metal parts, extending the life of your PWC.
Conclusion: Flushing your jet ski correctly is a straightforward yet essential maintenance task that can make a significant difference in the longevity and performance of your watercraft. By following these steps and using tools like the "Captain's Musket" by Salty Captain, you can ensure your jet ski is always ready for your next thrilling adventure on the water.
Share:
"Salty Captain's Guide to Must-Attend Boat Shows and Events in the United States: 2024 Edition"